
How to Connect Canon MAXIFY GX4020 Printer to WiFi?
February 27, 2025

How to connect Canon printer to WiFi as a beginner? As a beginner, it could be difficult for anyone to setup their printer alone without the need for any guide. From unboxing a printer to connecting it to WiFi and then to the computer is a lengthy process. It might take a couple of minutes, and hence, it needs to be setup correctly.
In this guide, we will show you the simple steps for connecting Canon printer to WiFi. Then, we will proceed to the next step, which is to show how to add the printer to respective devices such as Windows and Mac. The steps are simple to follow, and beginners can get started with their printer in no time. So, let's start now!
How to Connect Canon Printer to WiFi
Before printing anything with your printer, you need to connect your printer to your WiFi. Once the printer is connected via a wireless network, you can add it to your preferred device, which we have discussed further in this blog.
Here’s how to connect your printer to WiFi Network:
- Turn on the Canon printer.

- After that, navigate to Settings given under the control panel of your printer.
- Next, move to Device Settings using the navigation arrow-like button.
- Then, enter LAN Settings.
- Hit the OK button.
- Select the Wireless LAN setup option and tap OK.
- Wait here until your printer searches for your nearest available WiFi network. During this time, your printer will flash the light.
Does it take too much time to search for the available WiFi network? If so, you can fix this issue by following the steps described below:
- Press the Stop button.
- Then, you will see options like Wireless LAN setup and standard setup.
- Next, press OK to continue.
- Next, choose the WiFi network option and hit OK again to confirm.
- Now, you need to type in your WiFi password.
- After entering the password, press OK.
- Finally, when the printer shows that it is connected, click on the OK button once more.
- Following these steps will help you connect your Canon printer to your Wi-Fi network so you can easily start printing.
How to Connect Canon MAXIFY GX4020 Printer to Windows PC
Now that you have understood how to connect Canon printer to WiFi, let’s add it to your Windows computer. Follow the instructions explained below for better accuracy:
- Turn on the PC and type the Windows icon key with R to open the Run Command.
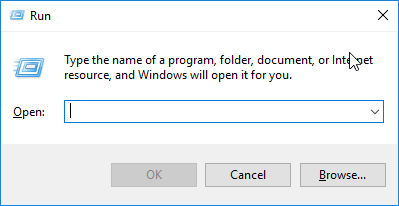
- After that, paste the following—control /name Microsoft.DevicesAndPrinters into the Run Command Window.
- Then, hit the OK button.
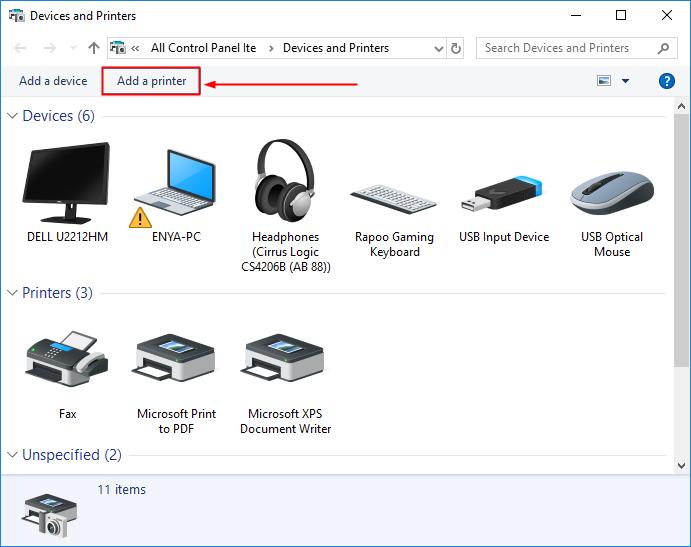
- On the next screen, select Devices and Printers.
- Afterward, tap the option Add a printer option.
- Follow the guidelines on your screen and finish adding your printer to your PC.
How to Connect Canon MAXIFY GX4020 Printer to Mac
Now, we will connect the MAXIFY GX4020 Printer to Mac. Make sure you have followed the steps on how to connect Canon printer to WiFi accurately. Then, just go through the steps given below:
- First, plug your Mac into the power and turn on your Canon printer.
- Then, follow the steps in the first part of this blog to connect your printer to the Mac.
- Next, visit the Canon website to download the right printer driver for your device.
- After that, click on the Apple icon at the top of your screen.
- Select "System Preferences" from the menu.
- On the next page, find and click on "Printers and Scanners."
- Look for the + icon and click it to add your Canon printer to your Mac.
- Choose your Canon MAXIFY GX4020 printer from the list that appears.
- Now, press the "Add" button to finish connecting it.
- Once you’ve done this, you should see your printer's name show up on the left side of your screen. This means your printer is successfully added to your Mac.
By now, you might have understood 'how to connect Canon printer to WiFi'. After connecting Canon printer to WiFi, we have explained the steps to connect your printer to your desired computer (Windows PC and Mac).
Frequently Asked Questions
Question
How to setup Canon printer on computer?
Follow these steps to Setup your Canon printer on your computer:
- Take your
printer out of the box and plug all the power cables into the wall outlet.
- Turn on
the computer and printer.
- After
that, download the printer software to your computer.
- Next,
follow the steps displayed on the computer and install the software
accordingly.
- Connect
the printer using a USB or WiFi network.
- Finally,
your setup is done.
Question
How to download Canon printer to my computer?
You can download the printer driver on your computer by visiting Canon's official website. Look at the following steps to install:
- Open the
browser and navigate to the Canon
Support page.
- After
that, type the printer model number.
- Then,
select the Software & Drivers
button.
- Next,
choose the driver for your operating system and hit the Download button.
- Once the download is complete, double-tap on the file that you downloaded to install.
- For installation, follow the display instructions on-screen.
Question
How to Connect my Canon MAXIFY GX4020 printer without WiFi?
If you want to use your printer without connecting it to your WiFi network, you can connect it via a USB cord as follows:
- Take a
USB cable that comes with your printer.
- After
that, insert one side of your printer into the USB port of your computer.
- Then, plug the other end of the USB cable into your printer’s USB port.
- Once the connection is done, you are ready to print anything that you want.
Enter your Comments Here: