
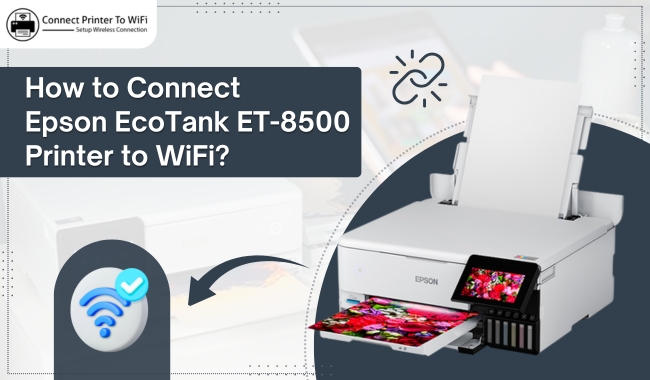
How to Connect Epson EcoTank ET-8500 Printer to WiFi?
March 18, 2025

Want to learn 'How to connect Epson printer to WiFi'? You’re in the right place! In this blog, we will guide you through the steps to connect your printer to WiFi so that you can print from anywhere in your home. Before we dive into the WiFi connection, we will also show you how to download and install the printer driver.

This is an important step because the driver helps your computer and printer talk to each other. Whether you want to print homework, photos, or colorful artwork, getting your printer set up correctly is the first step. So, grab your printer, and let’s get started on making your printing experience smooth and easy.
Step 1: Unboxing Epson EcoTank ET-8500 Printer
Before we delve into how to connect Epson printer to WiFi, you have to unbox your new printer. After that, we can start the setup process:
- Place the box on a flat, stable surface.
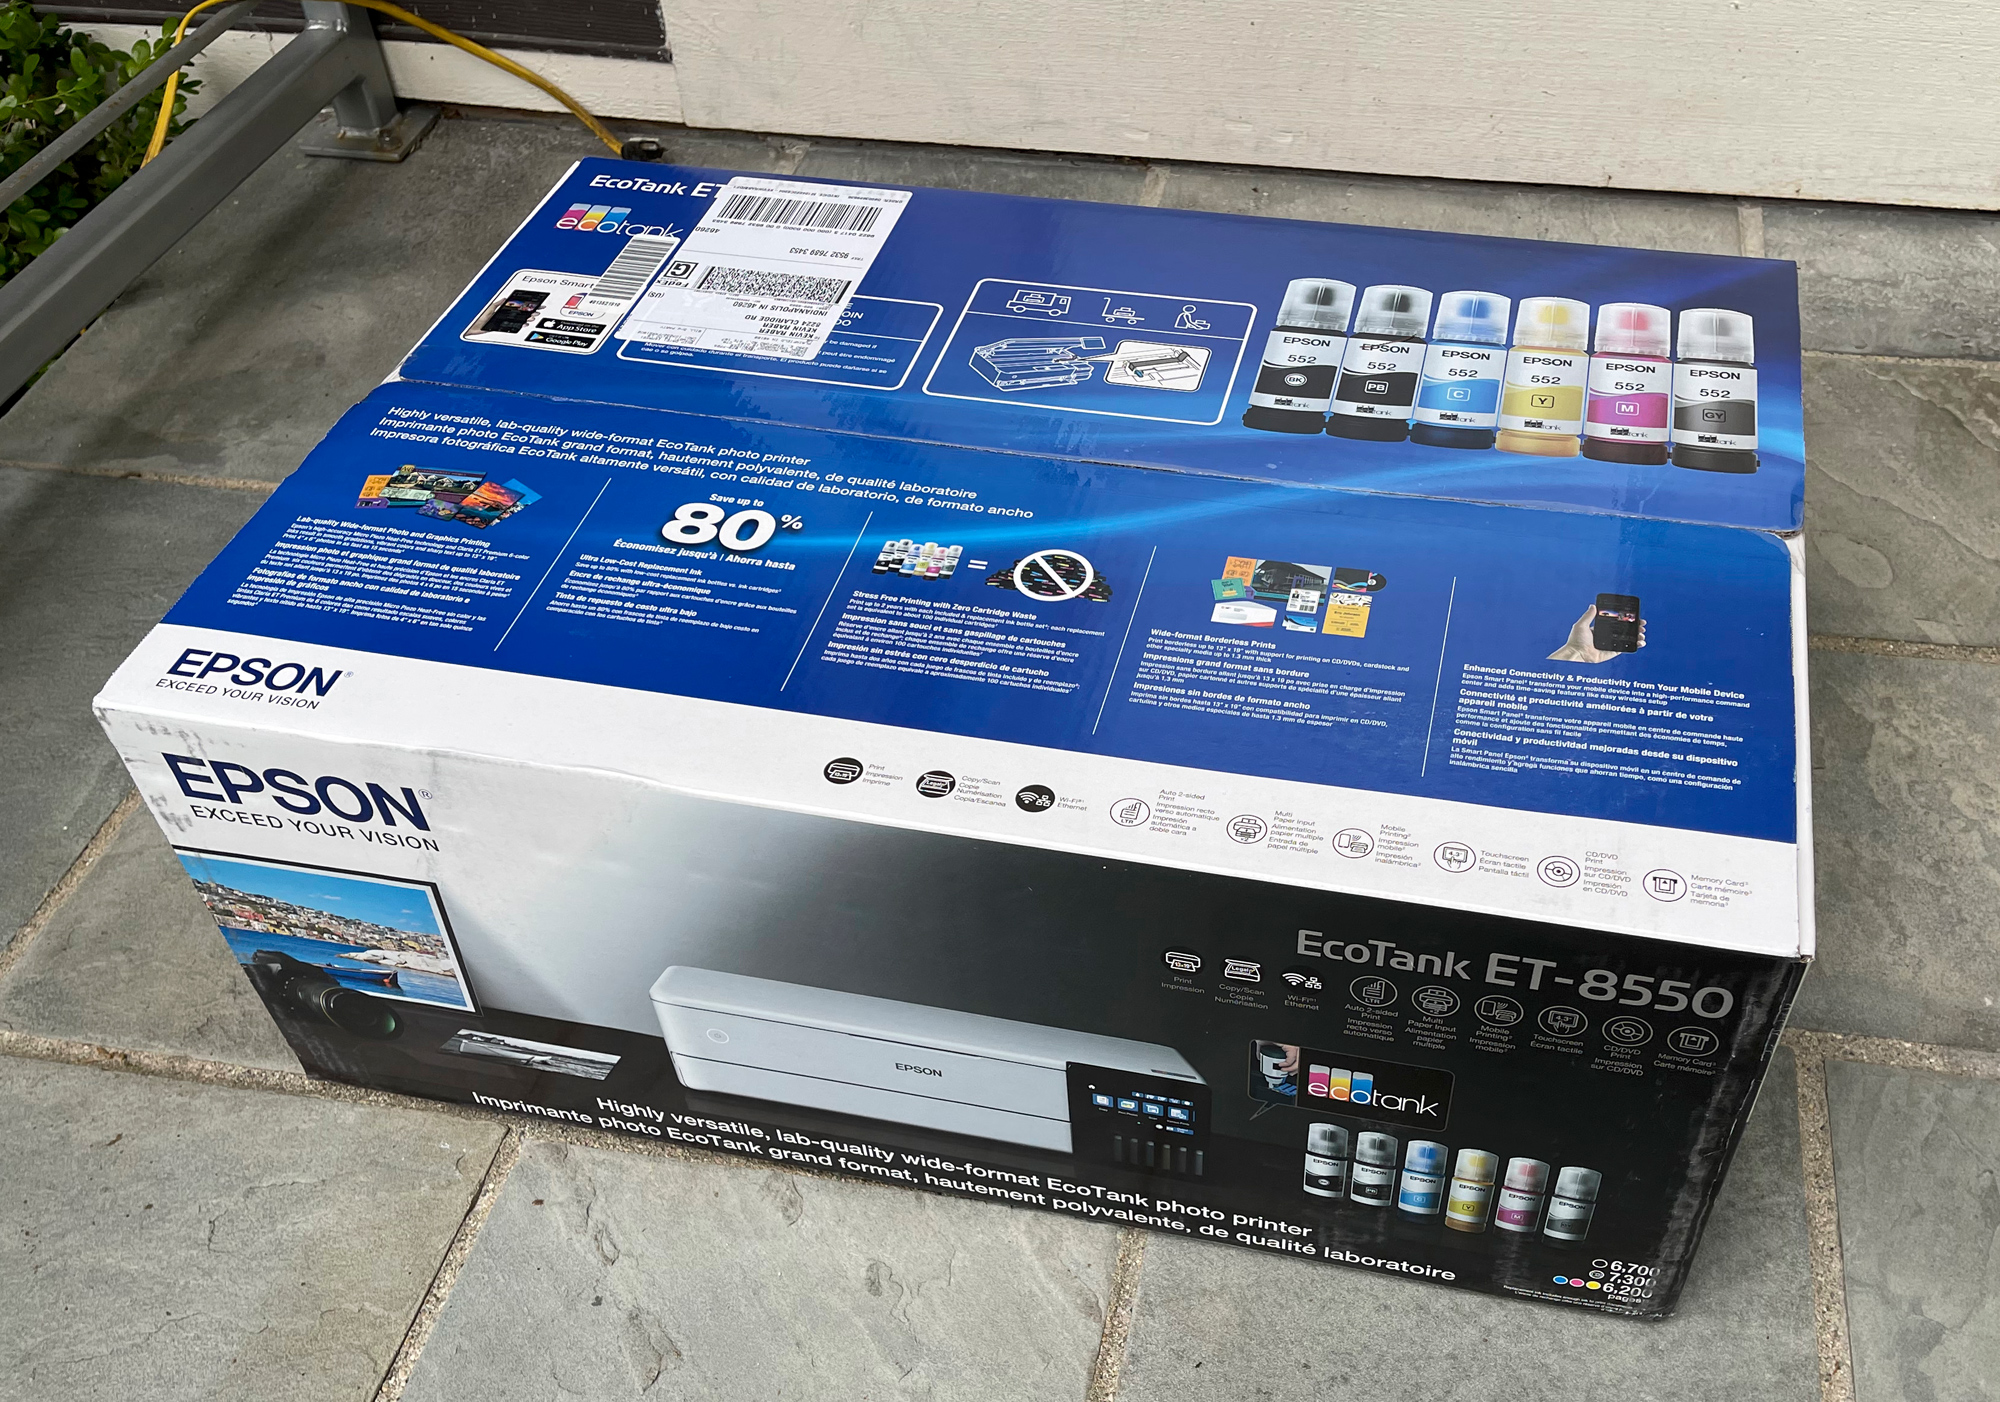
- Open the top flaps of the box.
- Carefully remove the printer from the box.

- Take out all included items, such as power cords, ink bottles, and manuals.

- Check for any protective materials around the printer.
- Remove all tape and packing material.
- Locate the quick start guide for setup instructions.
- Keep the box and packaging materials until you confirm the printer works properly.
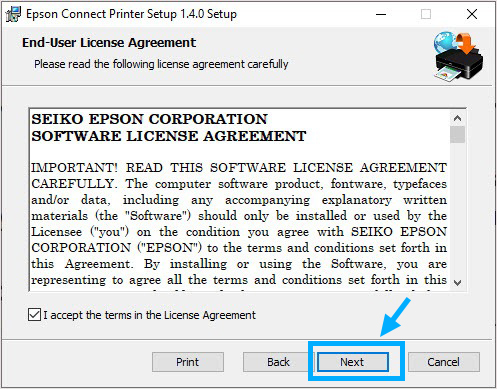
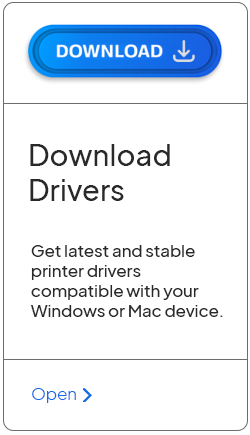
Step 2: Install Epson EcoTank ET-8500 Printer Driver
Before we guide you on how to connect Epson printer to WiFi. Let’s first install the Epson EcoTank ET-8500 printer driver; follow these simple steps for both Mac and Windows:
- First, go to the Epson support website.
- Next, search for the driver specifically for the ET-8500 model.
- Make sure to select the right version that matches your operating system, whether it’s Windows or Mac.
- When you find the right driver, click the download button.
- After the download finishes, locate the file on your computer.
- Then, you need to double-click it to start the installation process.
- A window will pop up with instructions. Follow these instructions carefully to complete the setup.
- Now, connect your printer to your computer. You can do this either by using a USB cable or by connecting over WiFi (explained below).
- Once everything is connected, it’s a good idea to restart your computer.
- This helps to make sure that the driver is working correctly with your computer.
Step 3: Connect Epson Printer to WiFi
If you want to learn how to connect Epson printer to WiFi, follow the steps given below for both Windows and Mac computers:
On Windows PC
- In the first place, you will need to note the name and password of your wireless network.
- After that, you will have to ensure that your PC has the right printer drivers installed.
- Then, turn on the printer.
- Next, move to the Control Panel and select the Home button.
- Now, select the WiFi setup option using the arrow navigation button.
- Afterward, tap the OK button.
- Just press and hold the OK button for a while to confirm if your connection is complete.
On Mac
- First, download the Epson Connect Printer Utility software on your Mac.
- Open the software and tap on the Continue button.
- Check the box for the software license agreement, then click Continue again.
- Click on Install and then select Agree to accept the Terms and Conditions.
- After the installation is done, choose your Epson printer and click Next.
- You’ll see a few options on the screen; pick one.
- If you’re new, create a new Epson Connect account.
- If you already have an account, click “I already have an account” and close the window.
- Once your printer is connected to Epson Connect, go to Settings.
- Finally, enter your wireless network password.
Finally, we have explained 'how to connect Epson printer to WiFi' for Windows and Mac computers. Now, you should be able to enjoy printing without any hassle!
Frequently Asked Questions
Question
How to Connect Epson Printer to Computer?
You need to follow the following steps given below to connect your Epson printer to your computer:
- Find the wireless network
name and password.
- Then, you need to make
sure that you have printer driver on your computer.
- After that, go to the
Epson printer.
- Next, move to your
printer’s Control Panel and
click on the Home option.
- Now, select the WiFi setup
button by using the navigation arrow buttons.
- Select the WiFi setup Wizard button and tap OK.
- Now, locate your wireless network and enter the password to connect.
- Finally, click on the OK.
Question
Why does My Epson Printer Not Connect to the WiFi?
Epson printers may not connect to WiFi due to several common issues mentioned below:
- Incorrect WiFi Password: Double-check that you entered the correct WiFi
password during setup.
- Printer Not in Range: Make sure the Epson printer is within range of the
WiFi router. Try moving it closer.
- Router Issues: Restart the router. This can resolve connectivity
problems.
- Network Configuration: Verify that the printer is compatible with the
network type, such as 2.4 GHz or 5 GHz bands.
- Driver Update: Ensure the printer's firmware and drivers are up
to date.
Question
How to Connect My Epson Printer to USB cable?
Turn off your Epson printer and your computer.
- Locate the USB cable.
- One end has a square
connector (Type B), and the other a flat connector (Type A).
- Connect the other end
(square type pin) of the USB cord to the USB port of your printer.
- Plug the other end (flat
one) of the USB cable into a given USB port on your computer.
- Turn on your printer
first, then power on your computer.
- Finally, you have
successfully connected your USB cable.
Enter your Comments Here: