
How to Connect Canon PIXMA G5020 Printer to WiFi? (Full Guide)
April 12, 2025
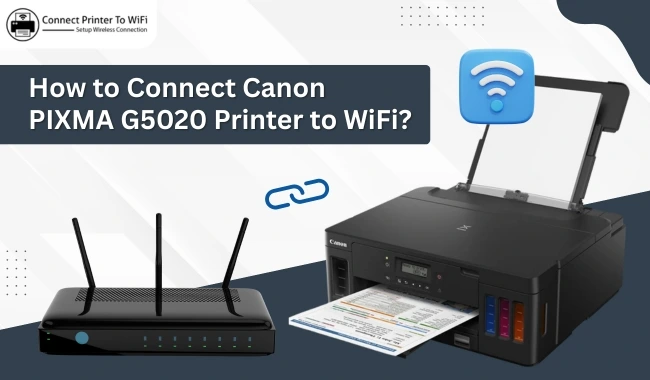

Wants to know about 'How to Connect Canon PIXMA Printer to WiFi'? can be a challenging task, especially for beginners. However, there is no need for concern - through simple and easy-to-follow instructions, you can finish this task in a timely manner. This guide provides basic steps to help you set up your Canon PIXMA G5020 printer quickly and easily.
The guide explains how to add it to your computing devices, including both Windows and Mac systems. Therefore, in this article, we have outlined the steps necessary to connect your printer to WiFi and subsequently explain how to add a printer to your Windows or MacBook. Let us begin by establishing the connection.
Things to Check Before You Start
Before connecting Canon printer to WiFi, make sure you have the following:
- Check if the printer is on and working: Make sure your printer is turned on and not showing any error lights. Listen for sounds to see if it's ready to print.
- Make sure your WiFi is working, and you have the password: Check that your WiFi is on and you are connected to the right network. Make sure you have the correct password to access it.
- Check if your printer model supports WiFi connectivity: Finally, check if your specific Canon PIXMA model can connect to WiFi. Not every printer can do this, so look up your model's details.
Connecting Canon Printer to WiFi
To connect your Canon PIXMA G5020 printer to a wireless WiFi network, you need to have a printer and a WiFi connection. Here are the steps to follow one by one so you don't get confused.
- First, turn on your printer by pressing the Power button.
- Next, go to the Settings menu on the printer's control panel.
- After that, look for the Device Settings option using the navigation arrows and select it.
- Then, go to the LAN Settings option.
- Press the OK button.
- Now, use the navigation button to find the Wireless LAN setup option and select it.
- Again, press OK.
- Your printer will start searching for the nearest WiFi network. You'll see the printer light flashing during this time.
These are all the easy steps for connecting Canon printer to WiFi. The process is the same for both Mac and Windows computers, but you'll only need to do these steps on the printer itself.
Steps for Adding a Canon Printer to Windows
First, make sure you know how to connect Canon printer to WiFi. Once it's connected, follow these steps to add the printer to your Windows computer:
- Tap on the Windows and the R keys at the same time to open a Run Command.
- Type this in the box: control /name Microsoft.DevicesAndPrinters. Next, click OK.
- This will take you to the Devices and Printers section.
- Click on "Add a printer."
- Follow the instructions that show up on the screen.
- Complete the setup to finish adding your printer.
Steps for Adding a Canon Printer to Mac
For Mac users, it is important to ensure that the printer is connected to the WiFi. Once it is connected successfully, you can follow the simple steps described below to add the printer to your MacBook.
- First, connect your Mac to a power source and turn on your printer.
- Next, follow the instructions from the first part of this blog to connect the printer to WiFi.
- After that, go to Canon’s website to download the printer driver.
- Then, click on the Apple icon at the top of your screen.
- Select System Preferences from the dropdown menu.
- On the next page, find and choose Printers and Scanners.
- After that, click the + icon to add your printer to your Mac.
- Now, select your Canon PIXMA G5020 printer from the list.
- Once done, click the Add button to complete the setup.
- When you finish, you should see your printer's name on the left side of your screen, which means the printer is successfully added to your Mac.
Conclusion
In this blog, we explore the steps of connecting Canon printer to WiFi, making it easier for you to print wirelessly. We have also provided instructions on how to add the Canon PIXMA G5020 printer to both Mac and Windows computers. Whether you own a MacBook or Windows, this guide is tailored for you.
Frequently Asked Questions
Question
How to Connect Canon Printer to Phone?
Learn 'How to connect your printer to your phone',
use Bluetooth or WiFi and follow the steps described below:
- Just turn on the printer.
- Go to
your Play Store or App Store to download a Canon PRINT app on your mobile.
- Choose
the printer from the main window and click on the Registered Printer.
- Hit the Printer Setup option and then set
up the connection via the wireless router.
- Type in the required password.
- In the end, click on the OK button.
Question
Can You Connect Canon Printer Without WiFi?
Yes, it is possible and very simple to
do. If you do not want to use the WiFi router or any wireless network to
connect your printer to WiFi, you will need a USB cord. This wired connection
setup is much easier than the wireless one. Just take a USB cable and connect
one end to the printer and the other to your computer. Once done, you are ready
to print anything.
Question
What Does the WPS Button on a Canon Printer Do?
First of all, the WPS button is not given on a printer, but it is located on the WiFi router. The main function of this button is to establish a wireless connection for the printer. If such a button is not located or found on your router, then you can also use the CD to set up such standard wireless installation. This is easy, and anyone can do it with little support.
Enter your Comments Here: